
With this script you can create vectors or data frames in R simply by marking the data you want and copy it to the clipboard. Then one simple line in R will import the data from the clipboard and structure it correctly. This is super useful when working with Excel or when you're browsing the web and find something you want to explore further in R. Now you won't have to create a temporary file to read from or scraping the content with rvest.
Example
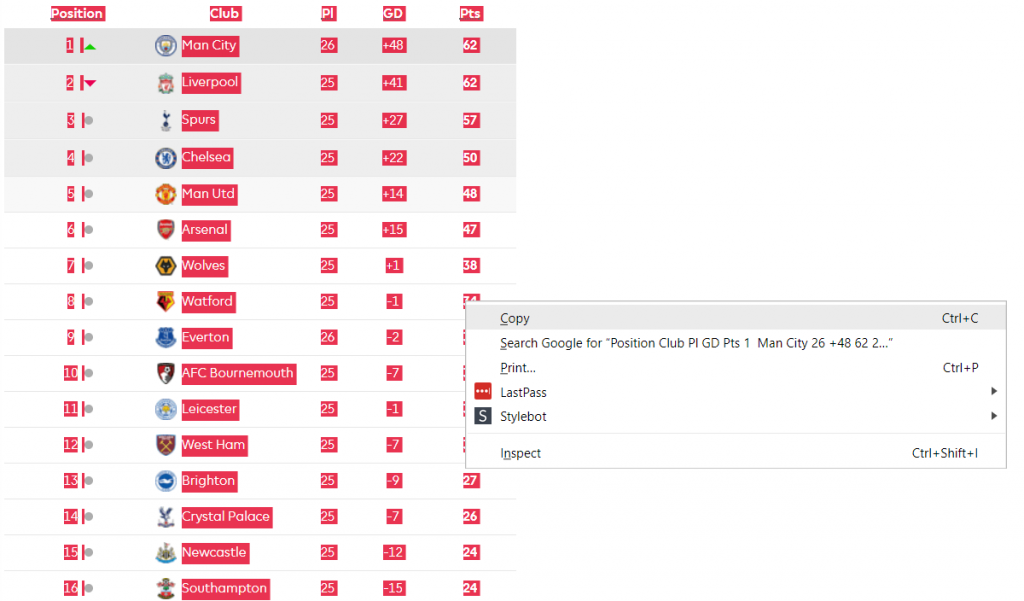
Let's say we wanted to import a table from Premier League to R. You just copy the data as shown in the image below and type in one single command to get the data imported to R.

Another use case is when you're working with Excel and you want to make permanent changes to a column. In Excel you might have to do complex functions to a new column and then copy those values to the original column and remove the new one. I often find that to take a lot of time and energy, especially if the function is complex. Instead with clip.read() and clip.write() you can copy the column in Excel to R, make the changes there and then write the changed data back to clipboard and paste in the Excel column.
The script
If you're only interested in getting the functions you can simply import my package from GitHub.
devtools::install_github("lynuhs/LynuhsR")
library(LynuhsR)

clip.read()       # Read data from clipboard
clip.write(data)  # Write data to clipboard
If you want to understand the code or want to copy the functions and not having to install my package, I'll walk you through the code.
clip.read()
The function will take only two parameters, and both have default values assigned.
clip.read <- function(type = "auto", header = TRUE){...}
The type parameter can contain "auto", "character" or "dataFrame". It tells the function what the desired structure of the copied data should be. The header parameter can contain either TRUE or FALSE and is only applied when the data structure is a data frame.
data <- readClipboard()

if(type == "auto"){
  type <- "character"
  if(regexpr("\t", data[1]) > 0){
    cols <- strsplit(data, "\t")
    if (all(lengths(cols) == length(cols[[1]]))){
      type <- "dataFrame"
    }
  }
}
The first thing that will run is the standard R function to read what's in the clipboard. The problem with that function is that it will only create a vector of characters. That is not what we might want so the first thing that we are doing in our own function is to check if the copied data has any tabs ("\t") in it. If it does, it might be a table that we copied. We then split the character data into a list of character vectors and use the tab ("\t") as a separator. Then we check if all vectors in the list have the same length, i.e. the same number of columns. If they do then we probably have copied a table and want to change the type parameter to "dataFrame".
if (type == "dataFrame"){
  data <- strsplit(data, "\t")
  start <- ifelse(header, 2, 1)

  df <- NULL

  for (i in start:(length(data))){
    df <- rbind(df, data.frame(matrix(data[[i]], nrow=1)))
  }

  if(header){
    colnames(df) <- data[[1]]
  }
}
The next part checks if the type of the copied data should be a data frame. If it should then we split the data by all tabs and create a variable called start. This variable will be used to decide what index of the data the loop should begin at. If the header parameter is set to TRUE then we don't want to read the firs "row" of the copied data. That should instead be used as column names (as you can see above). In order to create a data frame from the list of character vectors we loop through all the list elements and for each element we create a matrix with only one row, which means the data will be turned into columns, and then convert that to a data frame. We then bind it by rows with the previously looped elements.
We then finish off the function script by converting the column data automatically to a desired data structure and then return the data frame.
data <- type.convert(data)
return (data)
clip.write()
The function to write to the clipboard is much easier. What we will do is simply to check if the data is a data frame or something else. If it is a data frame we then write the data in a table format to the clipboard. If it's not a data frame we try to convert it to character and write it to the clipboard. If it doesn't work we stop the function and display an error message.
clip.write <- function(data, sep = "\t", row.names = FALSE, col.names = TRUE){
  if(is.data.frame(data)){
    write.table(data, "clipboard", sep=sep, row.names=row.names, col.names=col.names)
  } else {
    tryCatch({
      writeClipboard(as.character(data))
    }, error = function(err){
      stop("argument must be a character vector or a raw vector")
    })
  }
}
I hope you enjoy these functions just as much as I do!
Comments